

How to Start an Interior Design Project in Portugal
Where to start an interior design project in Portugal: prepare the brief, confirm measurements, approve the layout and define drawings, selections and purchasing.

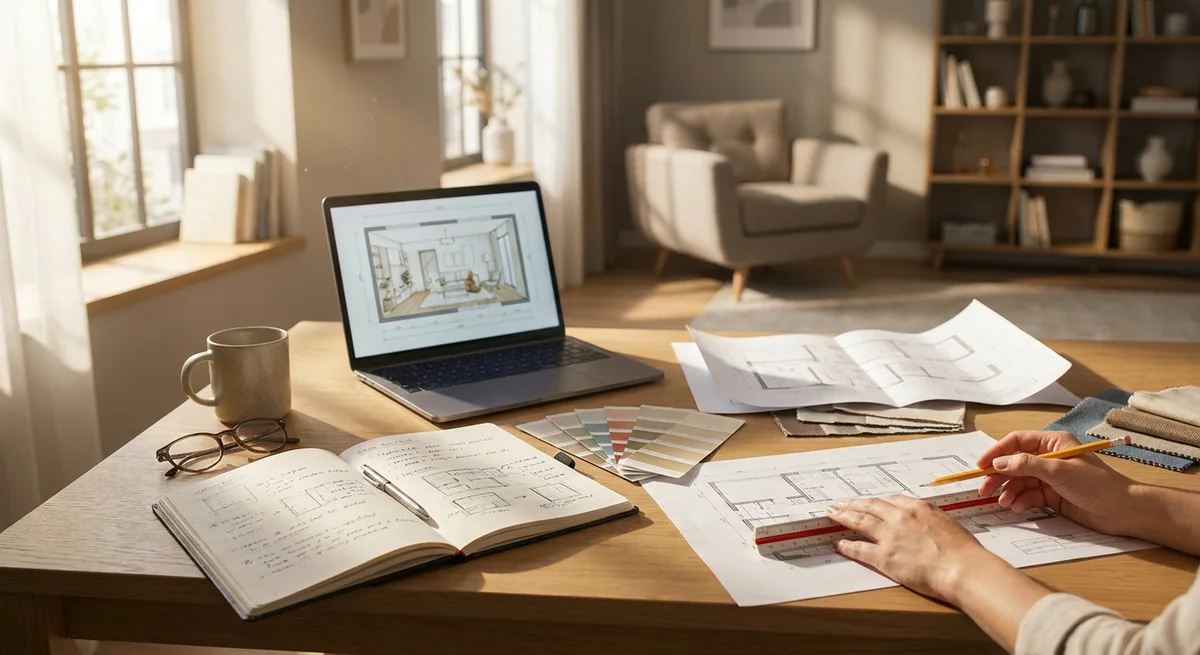
An interior design project starts with the task and reliable information, not a style chosen from photographs. Room condition, dimensions, budget and daily routines determine which decisions can be made and which need further checks.
For an interior design project in Portugal, begin with a brief and an agreed list of deliverables. Purchasing, delivery coordination and other contractors’ work need their own defined responsibilities.
1. Describe how you will use the home
Explain who lives there, whether anyone works from home, how often guests stay and what needs storage. Replace a broad wish such as “a spacious living room” with the activities, people and existing items it needs to accommodate. Separate essential requirements from preferences.
2. Gather and verify the information
- Floor plans and confirmed measurements.
- Photographs of rooms, openings and existing connection points.
- Furniture and equipment you intend to retain.
- Current or planned work.
- Access, delivery and move-in constraints.
Agree who will obtain anything missing. A sales plan can support an initial conversation but does not replace checked dimensions for ordering furniture. Technical building questions belong with the appropriate professionals.
3. Agree the project scope
List the rooms, approval stages and materials you will receive: layouts, concept, visualisations, drawings and schedules as agreed. Confirm revisions and exclusions. A package name alone is not a description of the service.
A design consultation may be enough for a small set of questions. If you live abroad, discuss remote working arrangements and who can attend the property.
4. Settle the layout before detailed selections
Check functions, main furniture sizes, circulation and door operation. Test the layout against daily use, not only visual symmetry. Resolve decisions affecting several rooms together and record the approved version.
5. Connect the concept with specific products
The concept sets a direction; detailed selection tests whether it can be realised. Check dimensions, intended use and samples where colour and texture matter. A visualisation communicates appearance but does not replace product information.
6. Review the documents for implementation
Compare the delivered material with the agreed list. Avoid distributing different versions of the same decision. Identify what is approved, which dimensions remain uncertain and which selections depend on later choices.
7. Organise purchasing separately
For home furnishing and purchasing support, define selection, ordering, deliveries and assembly. An item on a rendering is not automatically an order. Agree responsibility for each action and for approving substitutions.
The Leiria house project illustrates planning, visualisation, selection and implementation. Another property’s stages depend on its own brief and starting condition.
Connect decisions to the budget
Use separate tools for allocating a furnishing budget and tracking changes and purchases. There is no single planning duration or contingency suitable for every property; identify the actual scope and unresolved questions.
Send a plan, photographs and a short brief to discuss what is already known and what needs preparing before the next stage.